
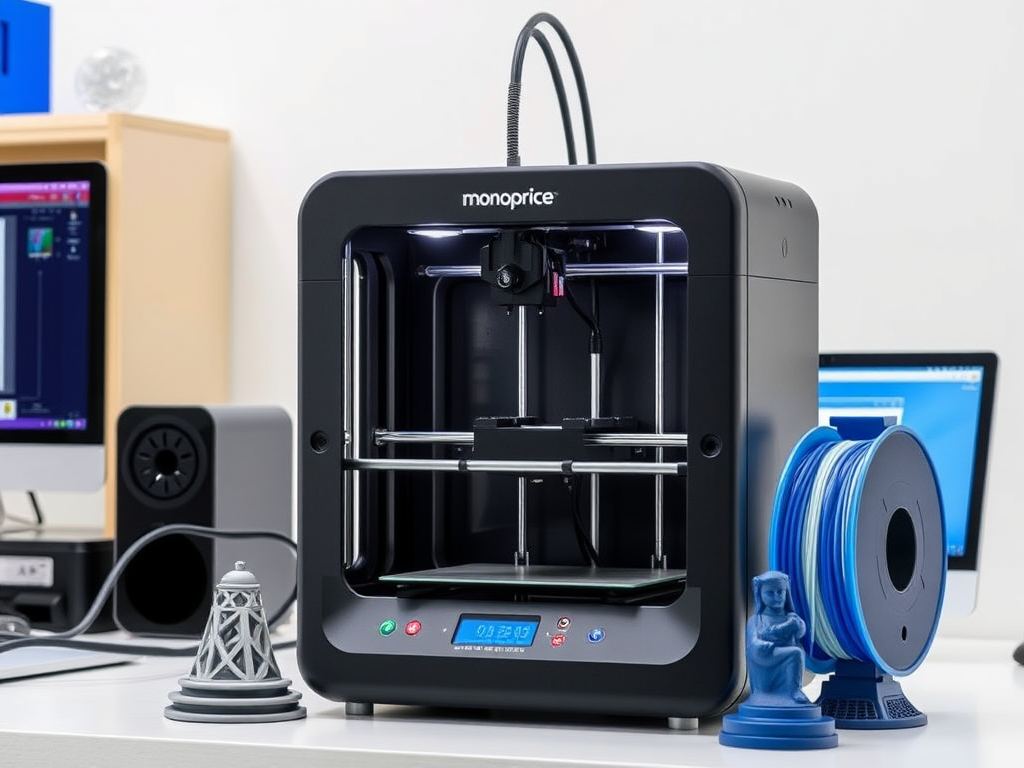
Among the most precise and consistent 3D printers in its class, the Monoprice Maker Ultimate 2 (Model 36045) offers a seamless experience for both beginners and seasoned producers. But, just as with any other device, proper configuration is extremely essential to generate clean, high-quality prints. This post will walk you through the complete setup process from unboxing and assembly to calibration and first print preparation. We will also offer helpful tips and troubleshooting guidance to assist your Maker Ultimate 2 start strong and stay consistent.
Box Contents? Unpacking the Monoprice Maker Ultimate Two
Check that you have included in the package before you start setting up:
Included in the package:
- Maker Ultimate 2 3D Printer (Model 36045)
- AC 100–240V input power cord
- Filament holder with filament guide
- USB cord and SD card
- Allen keys and hex wrenches
- Nozzle cleaning tool
- PLA filament sample spool
- Build plate clips
Every component should be verified before starting the assembly process. Missing anything? Contact Monoprice Customer Support right away.
Stepwise Installation Manual
Step 1: Connect the Power Supply
Attach the AC power cable to the back of the printer. The side power switch will start the machine. Allow the touchscreen to begin.
Step 2: Establish the Holder of Filament
Attach the filament holder to the designated printer top or side mount. Using the filament guide tube, direct the filament toward the extruder.
Step 3: Load the Filament
On the touchscreen, tap “Filament” > “Load”. Cut the tip of your PLA filament at a 45-degree angle for easier feeding. Insert it into the extruder until it catches and begins to pull it in. Once the nozzle starts to eject filament, tap “Done.” PLA should be used for your first several prints; it’s easier to use and great for establishing calibration.
Step 4: Level the Print Bed
Success in printing relies on proper bed leveling. Touch the screen to select “Leveling.” The printer will go to many bed sites. Using the adjusting knobs under the build plate, raise or lower corners until there is only slight drag on a piece of paper between the nozzle and bed. Do it one more for the middle and all four corners.
Step 5 (Optional): Load the Test Print
Insert the included SD card and navigate to: “Print” > “Test Print” or sample gcode files like “Cube.gcode”. Watch the print closely. Should the nozzle be too far from the bed, change the leveling once more.
Installing Software: Cura Slicing
By converting 3D models into printer-readable G-code, slicing tools such as Ultimaker Cura can allow you to obtain the best print quality.
Recommended Cura Profile
- Printer: Ultimate Monoprice Maker
- Size of nozzle: 0.4 mm
- The usual layer height is 0.2 mm.
- Print speed: 50 mm/s
- Bed temp: 60°C
- For PLA, the nozzle temperature is 200°C.
Download Ultimaker Cura. Import your STL files, slice them, and then transfer them to the SD card for printing.
Ideas for Smooth Operation
Following these rules will help your printer run well:
- Clean the nozzle with a brass brush.
- Remove filament trash from clean gears.
- Wipe the building plate with isopropyl alcohol.
Monthly:
- Re-level the bed
- Oil the Z-axis screw
- Inspect belts and, if necessary, tighten them.
Model 36045 Common Problems
Problem: No filament extrusion
Clean the nozzle by heating it and using the included cleaning tool. Use a sharp 45-degree cut to reload filament.
Print Not Sticking to Bed: Issue
Re-level the bed, apply painter’s tape or glue stick, and verify the proper heating of the bed. Filament might be grinding. Search for obstructions, adjust print temperature, and reduce retraction settings.
READ MORE – A Complete Handbook for Creators on Designing Passenger Car Models for 3D Printing
FAQs:
What materials can I print with?
The printer can handle more, including PLA, ABS, PETG, and TPU. Start with PLA; it’s the easiest to use and immediately yields great results.
Could I use filaments from other sources?
Of course, just be sure the diameter is 1.75mm. Among the brands that perform well are Hatchbox, Overture, and eSun.
At most, how large could the structure be?
Most hobbyist projects will fit in a build space of 200 x 150 x 150 mm.
Does the printer enable remote printing or Wi-Fi?
The Model 36045 operates on a USB cable or an SD card. Consider connecting to an OctoPrint
How can I upgrade the firmware?
Visit the Monoprice support page and follow the instructions for firmware upgrading for your model. Always first backup settings.
Conclusion:
Though setting up the Monoprice Maker Ultimate 2 Model 36045 could seem difficult at first, it becomes a smooth and enjoyable experience if you follow the correct steps. Every part of the procedure, from unboxing and filament loading to slicing and levelling, boosts your confidence and directs you to better, cleaner products. With a decent setup, regular maintenance, and a little bit of adjustment, this printer can produce excellent output for years to come. Would you like a downloadable PDF setup checklist for this tutorial or a video tour? Let me know!

 with step-by-step instructions, expert tips, and troubleshooting advice.)